YouTube has become one of the most popular platforms for sharing and watching videos online. With over 2 billion monthly active users, many people have created YouTube channels to upload and share their videos.
However, there may come a time when you want to delete your YouTube channel from your iPhone. Maybe you no longer use the channel, want to start fresh, or want to remove any traces of your online presence.
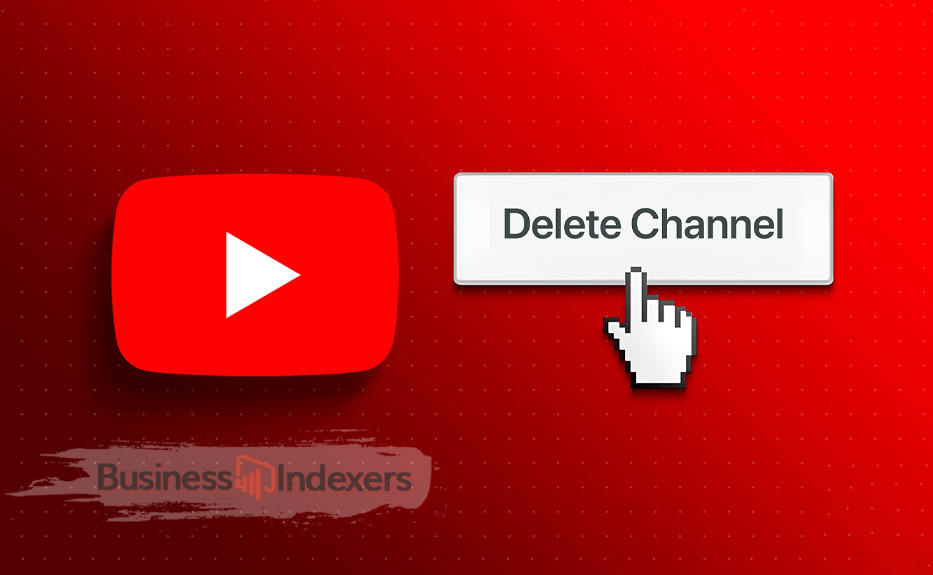
Deleting a YouTube channel on an iPhone is easy to do, but there are a few steps involved. Here is a complete guide on how to delete your YouTube channel using an iPhone.
Prerequisites for Deleting a YouTube Channel on iPhone
Before deleting your YouTube channel, make sure you meet these requirements:
- You must be the owner of the YouTube channel you want to delete. Only channel owners can delete a YouTube channel.
- Your YouTube channel must be connected to a Google account. Most YouTube channels are connected to a Google account.
- You’ll need the latest version of the YouTube app installed on your iPhone. Make sure to update to the current YouTube app version.
- Your iPhone must be connected to the internet to access YouTube and delete your channel. A Wi-Fi or mobile data connection is required.
- Consider downloading any videos or data from your YouTube channel before deleting it. Once a channel is deleted, all content will be removed.
- Sign in to the YouTube app on your iPhone using the Google account your YouTube channel is connected to. This allows you to manage and delete the channel.
Once you’ve verified those prerequisites are met, you can move ahead with deleting your YouTube channel on an iPhone.
Step 1 – Open the YouTube Studio Dashboard
The YouTube Studio dashboard is where you can manage your YouTube channel settings and content. Here are the steps to open your YouTube Studio dashboard on an iPhone:
- Launch the YouTube app on your iPhone.
- Tap on your profile picture or icon in the top right corner.
- Select “Your channel” from the menu.
- On your channel page, tap on “Manage channel” near the top of the screen.
- This will open the YouTube Studio dashboard for your channel.
The YouTube Studio dashboard is where you can find the options to delete your channel. Continue to the next steps.
Step 2 – Tap on Settings in YouTube Studio
Within the YouTube Studio dashboard:
- Tap on the icon with three dotted lines in the top left corner.
- In the menu that opens, select “Settings”.
This will open your channel’s settings page. The delete channel options can be accessed from here.
Step 3 – Scroll Down and Tap “Delete Channel”
On the Settings page:
- Scroll down past your channel details and preferences.
- Tap the red button that says “Delete Channel”.
This will open a confirmation window to delete your YouTube channel.
Step 4 – Confirm the Deletion of Your YouTube Channel
In the confirmation window that opens:
- Tap on the text that says “Delete [Your Channel Name]”.
- On the next screen, tap “Delete” again to confirm.
This will permanently delete your YouTube channel. All channel content including videos, playlists, comments and data will be removed.
The deletion process may take some time to complete after you confirm. YouTube states it can take up to 2 months for a channel to be completely removed from their systems.
And that’s it! By following these steps, you can successfully delete a YouTube channel on an iPhone. Just make sure you really want to delete the channel and its content before confirming the deletion.
Why You May Want to Delete Your YouTube Channel
There are a few common reasons people decide to delete their YouTube channel:
- You no longer use the channel – If you’ve stopped uploading videos and have no plans to use the channel again, deleting it cleans up your online presence.
- The channel contains embarrassing or old content – Deleting the channel removes any videos or content you no longer want public.
- You want to start fresh – Deleting a channel completely wipes its history and gives you the opportunity to create a new channel.
- Privacy and security concerns – Removing a YouTube channel minimizes your personal data stored by YouTube.
- Channel name change – Sometimes it’s easier to delete a channel than rename it if you want a new channel name.
Overall, the decision to delete a YouTube channel is a personal one. Make sure you download any videos or data you may want to save before deleting a channel.
What Happens When You Delete a YouTube Channel
When you delete a YouTube channel, here are some key things that will occur:
- All videos will be removed – Any videos you uploaded to the channel will be deleted and unrecoverable.
- Playlists will be deleted – Any public or private playlists created in the channel will be removed.
- Comments will disappear – All comments made in the channel’s videos by you and others will be erased.
- Subscriber count resets – The channel’s subscriber number will be reset back to zero.
- Search results updated – It will take some time, but eventually the channel will stop appearing in YouTube searches.
- Channel can be reused – Once fully deleted, the channel’s custom URL can be claimed for a new channel.
Overall, a deleted YouTube channel leaves very little trace behind after a couple months. Be sure to backup anything important before deleting your channel.
Options for Deleting Specific Content
If you only want to remove certain content from your YouTube channel, there are options for deleting specific items:
- Delete individual videos – You can remove one or multiple videos from your channel’s video page in YouTube Studio.
- Make videos private – Rather than delete a video, you can mark it private so only you can view it.
- Modify or delete playlists – Playlists can be edited or deleted without removing your entire channel.
- Turn off comments – Comments can be disabled on some or all of your channel’s videos.
- Delete channel comments – You can delete any comments you’ve left on other videos as the channel owner.
This allows you to do a targeted cleanup of your YouTube channel rather than deleting the entire channel.
Steps to Recover a Deleted YouTube Channel
Once a YouTube channel has been deleted, it can only be recovered by completing these steps:
- Contact YouTube support – You must reach out to YouTube’s customer support within 60 days of deletion.
- Provide proof of ownership – Be ready to give information that proves you own the deleted YouTube channel.
- Wait for YouTube review – It may take up to 2 weeks for YouTube to review your recovery request and respond.
- Channel address may change – If recovered, your channel’s custom URL may not be the same as before.
There is no guarantee a deleted YouTube channel can be restored. Recovery depends on YouTube’s policies, so contact them as soon as possible if you change your mind after deletion.
Closing Your YouTube Channel
An alternative to deleting your YouTube channel is to close the channel. Here’s how closing a channel differs from deleting:
- Videos remain live – Closing a channel keeps all your videos online and public.
- Playlists stay active – Your playlists will remain available for anyone to view.
- Comments are unaffected – All comments on your videos will stay visible.
- Can’t add content – Once closed, no new videos or data can be added to the channel.
- Subscriber count stays – You’ll retain your number of subscribers after closing a channel.
Overall, closing a YouTube channel simply prevents any new uploads. Your existing content stays live and public.
To close a channel:
- Go to YouTube Studio Settings
- Click “Status and Features”
- Click the toggle switch to turn your channel status to “Closed”
Closing may be a better option if you want to keep your content public but no longer maintain a YouTube channel.
Prevent Your Channel from Being Deleted
To prevent your YouTube channel from being deleted either intentionally or accidentally, here are some tips:
- Ensure you use a secure and private Google account password for your channel’s connected account. This prevents unauthorized logins.
- Turn on two-factor authentication for added security on your Google/YouTube account. This requires you to verify your identity when logging in from new devices.
- Remove any saved payment information from your Google account to prevent unwanted purchases or fees from being charged.
- Double check that you are deleting the correct channel if you do intend to delete your YouTube presence.
- Backup your YouTube channel data like videos in case you ever want to reupload them later to a new channel.
- Review YouTube Studio’s auto-deletion policies regarding inactive accounts in case your channel may be at risk of removal.
Taking the proper security steps can help prevent losing your YouTube channel accidentally or to hacking/unauthorized access by others.
Key Takeaways on Deleting a YouTube Channel from iPhone
Here are some key tips to recap on deleting a YouTube channel using an iPhone:
- Navigate to the YouTube Studio dashboard and Settings to find the delete channel option.
- Confirm your intent to delete the channel two times before YouTube will remove it.
- Downloading and backing up data is crucial before deleting a channel and its content.
- Once deleted, channels can only be restored by contacting YouTube support within 60 days.
- Consider closing your channel instead if you still want your content to remain public.
- Make sure you are deleting the intended YouTube channel so you don’t lose your online presence accidentally.
Deleting a YouTube channel is permanent and cannot be undone through the app alone. But with the proper steps, you can remove a channel you no longer need directly from your iPhone. Just be cautious before confirming the permanent deletion.